We will be announcing the winners of this months Challenge in the next couple of days - so I thought I would share a tutorial that has been a few months in the making! It's also a perfect way to use up scraps of paper and make some unique gifts too.
Couple of disclaimers before I start! This would be fun to do with your kids but step one (cleaning the glass beads) is definitely an adults only activity. You can buy glass domes - but I don't know where - so if you find some let me know. At the end of the post is a cheap and easy way to make lots of magnets without all the fuss!!
I have used the Cosmo Cricket "Upcyle" Collection which is perfect with it's bright colors and fun themes. I also decided I needed somewhere to put the magnets - so I made this fun board too!
These magnets are so much fun to make and you really only need a few basic supplies.
Now - I know you can probably buy these glass domes but I couldn't find anywhere here in New Zealand to get them, so I have "upcycled" these ones from The Warehouse.
Preparing the Glass Domes
Buy some cheap magnets
Carefully remove backing (definitely adults only)
Scrape away most of the glue with a sharp craft knife
Use a pot scourer to remove remaining glue
Making the Magnets
Cut or punch circles of paper slightly smaller than the flat side of the glass dome
Apply Mod Podge to the surface of the paper you want visible through the magnet and glue onto flat side of magnet
When dry, apply a layer of Mod Podge to the other side o the paper (outside)
Using a strong craft glue, stick a magnet to the underside and leave to dry
Here are some close-ups of the magnets. I made three different sizes here - for the largest I used a 1" circle punch.
The magnet board started life as a really ugly magnetic calendar thingy - so I sprayed the outside edges with some tile paint, glued on some paper and when the glue was dry - I Mod Podged over the top to add some shine and protection.
The wonderful papers from Cosmo Cricket really do all the work - they co-ordinate perfectly and the prints are fun and fresh.
These are the magnets I made last year during our Christmas countdown.
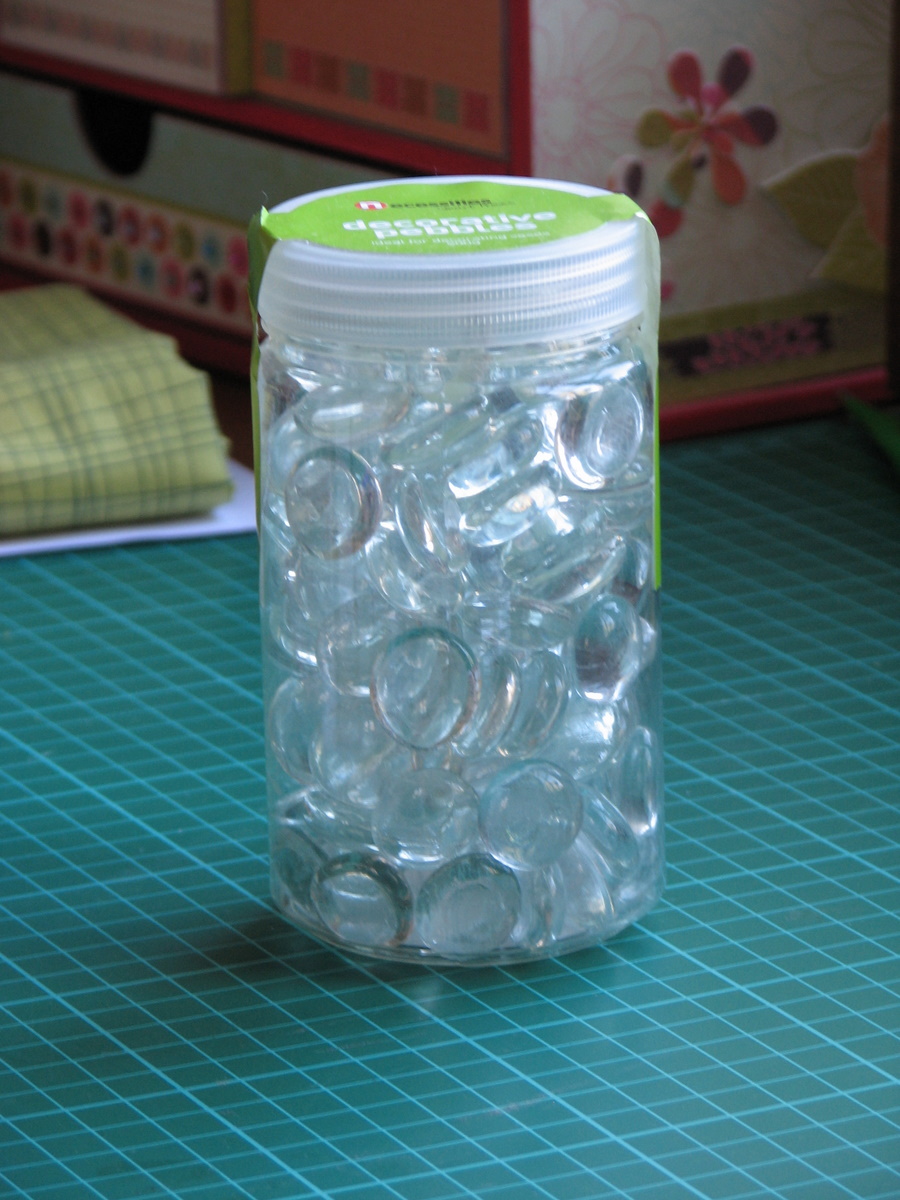
OK - if you want to make lot of these very cheaply - buy yourself a jar of decorative glass pebbles such as these (from The Warehouse again - about $4)
Follow the "Making the Magnets" steps as shown above and you can make a lot of these very quickly. Be warned though the quality of the glass is such that the paper will not be as clear through them - but for $4 why not give it a go and see! I made a few to try- you can see these below.
A really quick post today to recap the week on the blog and share an idea for paper flowers. This week Tina shared some more wonderful layouts and ideas for using scraps. I did a post about improving your photos with Picasa.
After I posted about the photo-editing, a few people have asked how they can make the flowers - so here is a tutorial I created last year which shows you just how to do it!
Why not make some from your SCRAPS and enter them into this month's challenge (see all the details here). We would love to see them. Don't forget we are also looking for new members for our Design Team (see all the details here)
Folded Flower Tutorial
These old maps are beautiful and came from my MIL's second-hand bookshop. They had been there for ages and weren't in great condition so I decided to recycle them into decorations for the shop! You can easily see the progression in map-styles...
I actually thought the differences so obvious in the maps would be reflected in the flowers - but they weren't really - probably because I was a little tentative about cutting right into the middle, "business end" of the maps!
These maps are made out of the most beautiful paper. Crisp, thin but very strong - perfect for folding!
The index portion of one of the maps had some wonderful plain black and white text - so I made one of of that too (bottom left in the pic below)
To mount them I hot glued them onto a lightweight bamboo skewer pressed lightly between the joins of the petals - as long as you hold it firm until the glue dries they will be pretty solid
I wrapped some map paper inside a mason jar and placed a lump of old play-dough in the bottom to insert the skewers into the vase!
Tutorial
Hopefully these instructions are clear - note I have used hot glue to stick these as I find it very strong and you only need the smallest amount as the map paper is very lightweight.
The photo in this layout is of my mum and her sisters, taken in the 1940's. I decided to play with stamps and ink, taking a sheet of white paper and transforming it with lots of stamping and distressing techniques, until I ended up with the brown/black design. I pleated and stitched one section, threading beads onto the embroidery floss. I used a mask on the green paper to add extra detail. Liz now has this layout at the shop if you are interested in a closer look.
A tutorial for you.....
And my card made using the flower...
This is actually an easel card, but I forgot to take a photo before I gave it to Liz! Must have been having a blonde day.
Another tutorial, this time for simple rolled flowers.
A layout of my bestie and I on her wedding day. I used impasto scraped over Glimmer Screens (stencils) to create the lovely texture. This is a fantastic product which I love using. I then rubbed on some Perfect Pearls once touch dry and spritzed with Glimmer Mist.
I created a frame from acetate and used Tim Holtz Alcohol Inks and Metal Mixatives to colour it. The lace was coloured with Glimmer Mist. It's so pretty and shimmery in real life.
I hope you enjoyed my tutorial. I'll be posting a few more in the coming week.
The past two days have been amazing. Liz and I have been playing all day at Creative Block, which is three days of classes, make & takes, talking to manufacturers, and shopping at Printblocks. I've attended classes by EK Success, Clearsnap, & with Cindy Wilson from Provocraft. I did 'make & takes' with Maya Road, Bo Bunny, Sizzix, Cricut, EK Success, Prima, 3L Scrapbook Adhesives, and Graphic 45.
I have lots of fun projects to share with you over the next few days
I have a few photos of the gorgeous Graphic 45 stand to share with you. All I can say is WOW!!! Take a look for yourself.....
Jane Treganza's stunning book- this girl is seriously talented! It is done in the form of a "pop-up' book and is amazing in real life. The photos just don't show how exquisite this is.
More creations by the Graphic 45 design team.....
This was an covered scrapbooking album - beautiful!