Thought I would share with you today the projects I made for the final round of submissions for the Kaisercraft Design Team.
Pink Gelato Trinket Box
I wanted to create a very light and whimsical look for this box so I have sanded all the edges with a very fine grit sandpaper before painting with pale blue acrylic paint. To create a slightly aged look I have stamped a text pattern onto the edges using first white and then brown ink. This highlights the subtle text in the paper and breaks up the solid look of the wooden edges.
After covering all the visible sides with paper I have then used the stickers and rubons provided to decorate. The top has been left very simple to allow the lid of the box to be easily opened.
To create the buttons on the front I have punched circles of plain chipboard and then added a circle of paper on top, insert a pearl brad and a little handle is made!
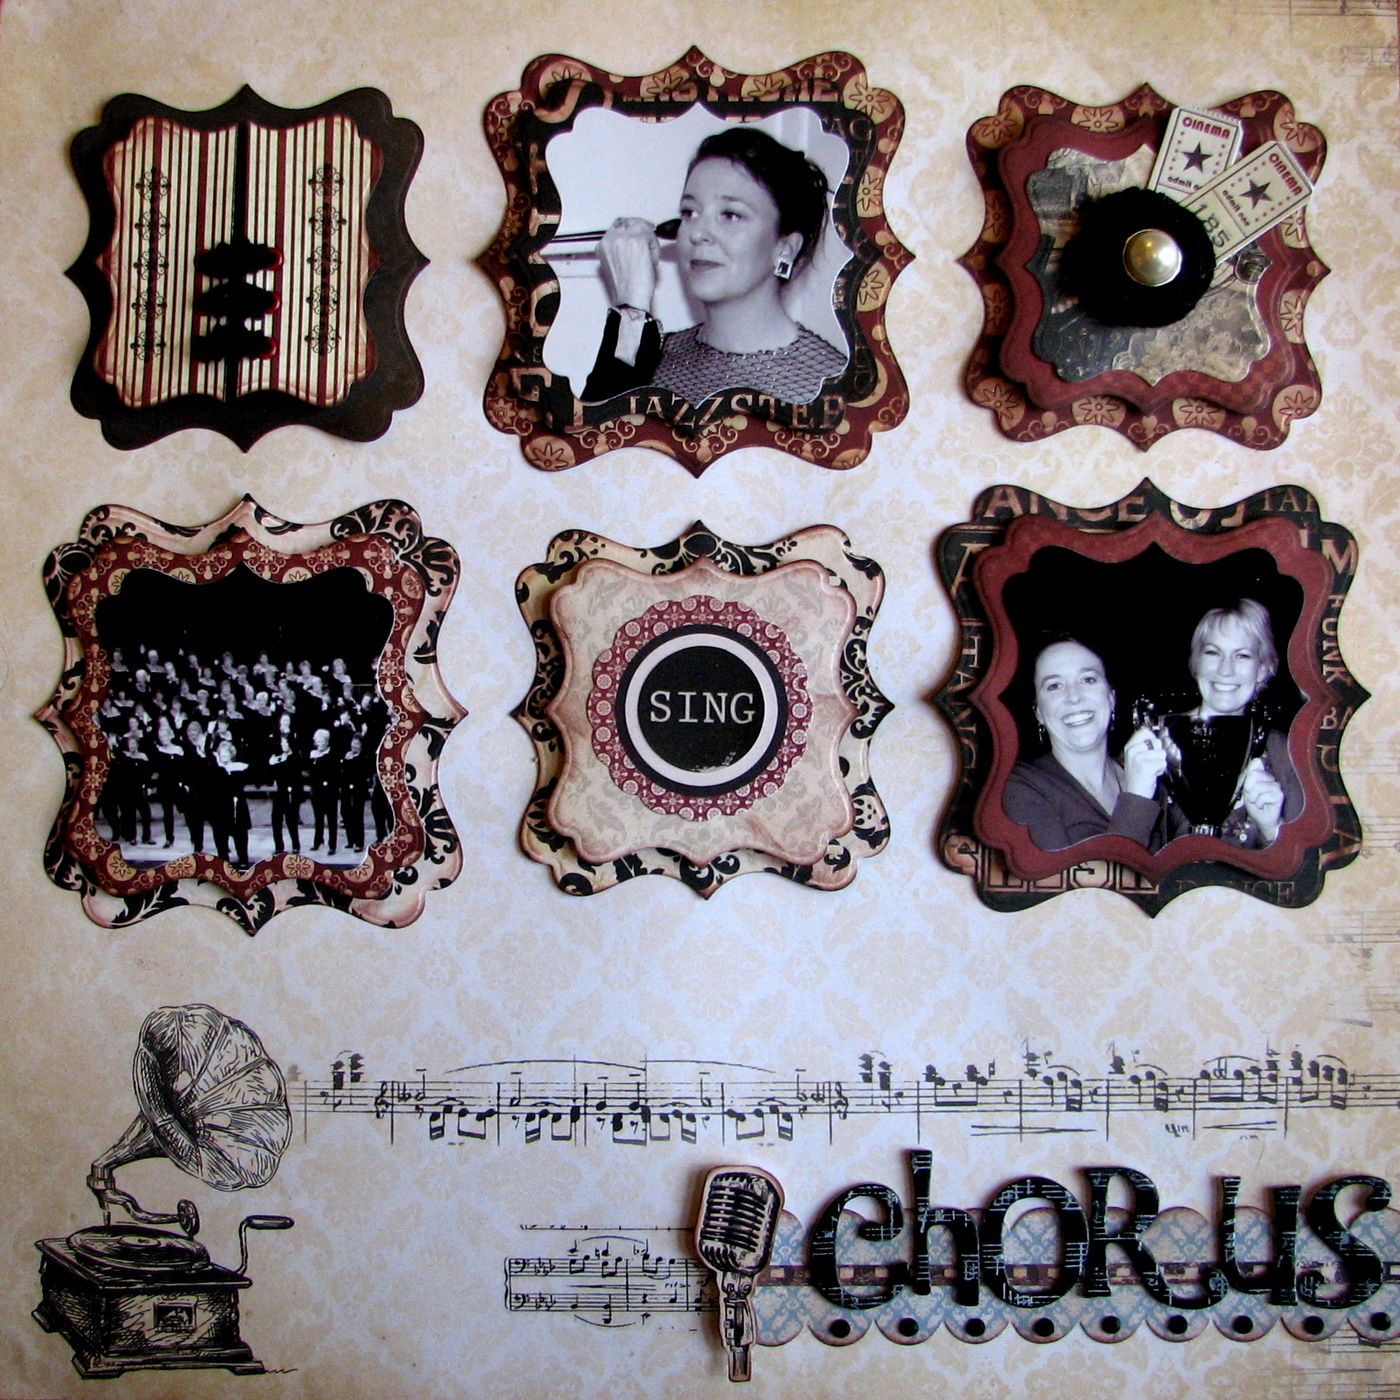
There are some wonderfully rich colours in the papers for this collection but I still wanted to keep the overall look of the layout very clean so I have used the simple colour scheme of cream, black and burgundy. The Performance paper is the perfect background to use as it already has lots of interest with the music and gramophone print.
For the “dress” square I have used eyelets to form a corset and used lace to complete the ornate look.
The sticker sheet offers many options for decoration, and here I have put some together to form a background for my “Chorus” lettering. For the letters I stamped onto then with white ink for extra depth, using the Kaisercraft Sheet Music Stamp.To make the lace "button" I have used a simple technique which can be seen in my mini tutorial below.
Cut or punch a circle of paper the same colour as your lace
Make it super sticky all over(I used glue dots but you can use double sided tape)
Starting at centre, roll your lace in a circle, twisting as you go
Press down firmly to ensure lace sticks to glue
Be sure to roll tightly as you get to the end and secure the end underneath with another glue dot
You can now decorate as you choose!
Now - I did not make the team - but you can see who did here. There are some really talented ladies there - so please take a look as we will be seeing a lot of their work over the next year.. Lowri :-)


Very best of luck Lowri
ReplyDeleteAwesome work as always. Love your layout!!!! That paper is to die for!
ReplyDeleteWow, your layout is such a unique idea. Even if you didn't make the team, your work is truely beautiful and you should be proud.
ReplyDelete