Showing posts with label Lowri McNabb. Show all posts

Thursday, August 29, 2013

Design Team Introduction - Lowri McNabb

Hi Everyone - Lowri here and I am thrilled to be continuing with Artfull Crafts this year in the role of an Expert.


Here is a little more about me and my crafting, along with a few of my favorite projects from the last year.

What is your field of expertise and how did you find yourself with this interest?

I am going to be focusing on “Off-the-Page” projects such as mini albums, home decor pieces and a little bit of everything Christmas!
I love to create functional items that also look decorative and I really like to use my Cameo – so look out for some pointers in that direction too.

Echo Park Strawberries - more info here

How did you come to be involved with Artfull Crafts and how do see your role developing through the year?

I have been working with Artfull Crafts for 3 years now – in fact I was chosen to be on their first Design Team and have remained involved in a couple of different ways!. I am looking forward to focusing on the creative aspect again for the following 12 months

What type of papercrafts do you enjoy?

I like to create mini-albums, stationery, altered projects, cards and small papercraft pieces and my style has been described as described as bold and product driven with clean lines and lots of color.

October Afternoon Mini album - more info here
What inspires you to be creative?

I am usually inspired by the product itself – though more and more I seem to be noticing good design I like everywhere and trying to incorporate it into my work. My favourite graphic design is the old-fashioned Penguin Book covers.

What is your favourite craft brand and why?

I like a lot of manufacturer’s products – though I am probably most drawn to bold and clean lines such as those by Echo Park, October Afternoon and Cosmo Cricket. I tend to only work with one Collection at a time too – so I have to REALLY like it!

Kaisercraft / Echo Park Tool Box - more info here
What advice can you give to people just beginning to enjoy papercrafting?

  1. Enjoy yourself - this is meant to be fun!
  2. Don’t panic – if it doesn’t work – what have you lost? Most times you can just cover it with a bigger piece of paper and start again!
  3. Buy product you love and think you will use in the next 3 months (I really should start heeding that advice!!) Find a few people on-line whose styles you admire, follow their blog – ask them questions. There is not a blogger out there who doesn’t love to know people are interested in their work. 
  4. Enter some challenges/DT calls etc. It's hard sometimes to "put yourself out there" but you will find people are friendly and really appreciative you have taken the time to share your work. The Artfull Crafts Monthly Challenges are a GREAT place to start - you can win some fab prizes too!
Any questions - just post a comment on this post or our Facebook Page here.

Lowri

Friday, October 7, 2011

Lowri - Multi Photo Mini Album

Hi Everyone - Lowri here. I have a Kaisercraft Album project to share today - this time a simple album I made for a special lady who has been working with our family for some time.

We have the album available in shop here and it really is a beautiful and elegant shape. We do not stock this particular range of papers but I hope that the album can give you a couple of ideas on how to use a lot of photos on one page in a mini album


I have used Basic Grey's Origins Collection as the basis for the book - which is the Kaisercraft Leaf Album. I have kept the decoration simple to emphasise the photographs.


Each page has photographs from one particular year


The mini letters are from Kaisercraft and are great way to add some really simple labelling.


At Christmas time I also made her a blank album in the same collection (you can see heaps more pics at my post here.) She is a very keen gardener, so these bright colors are a perfect match!


I hope you have enjoyed these!

Why not enter YOUR latest project into our Challenge.
All the details here.
Please post a comment with any questions.
Lowri :-)

Friday, September 23, 2011

Spellbinders, Cookies and Flowers :-)

Hi Everyone - Lowri here.

Well - another week has gone (somewhere?!) and I missed a post I was supposed to do this week. I will be completely honest and say things have been so crazy with school, rugby, kids etc etc that I have no excuse!

SO - seeing as we have some wonderful new followers I would recap on a couple of GREAT ideas we featured in the last 18 months or so!

FABULOUS SPELLBINDERS DECORATIONS
Last Christmas - Tina shared how to make this amazing decoration using Spellbinders - click here to see the complete post.


USING STAMPS ON COOKIES
Earlier this year Lowri shared how you could use acrylic stamps and food colouring to create custom cookies - click here to see complete post


TISSUE PAPER FLOWERS
Sandy has a simply fabulous tutorial on her blog showing how to make these gorgeous flowers - click here to see complete post.


I will be back on Sunday to share all our Artfull Crafts news.

Make sure you check out all our new products here - they are being added daily at the moment!

Lowri :-)

Wednesday, September 21, 2011

Lowri - Spring Album, New Kaisercraft PLUS GIVEAWAY

Hi Everyone - Lowri here

Cosmo Cricket Mini Album
I made this mini album a while ago using the fabulous Upcycle Collection from Cosmo Cricket.  It is an accordion style album which folds up into this gorgeous 4"x4" size square


My idea was that this would be a fabulous memento for a young girl - maybe she could have a sleepover for her birthday and get all her friends to write in it as a keepsake...

There is plenty of space for writing those special memories


The album is not that hard to make - I found a template here and actually used 5 squares of paper to create this version.

The colors and designs in this collection are fun, bright, sophisticated, retro and any other number of fabulous adjectives I could use!! 


**NEW KAISERCRAFT COLLECTIONS**
We have two new collectinos from Kaisercraft arriving this week - and tomorrow we will be offering the chance to pre-order them through our newsletter.

Here is a little glimpse of what they look like - and if you go to the end of the post  - you can find out how you can win a set of Stamps  and Journal Tags from the collection of your choice!

Bonjour

13th Hour

To Win

Leave us a comment telling us which is your favorite collection and why - and we will put you in the draw to win a set of STAMPS and JOURNAL TAGS of your choice!


IF YOU BECOME A NEW BLOG FOLLOWER YOU WILL GET AN EXTRA ENTRY TO WIN!
We will be including comments from this blog post and our facebook post :-)

Lowri :-)

Thursday, September 1, 2011

Lowri - Hunt and Gather Mini Album in a Tin and more...

Hi Everyone - Lowri here.

Another quick project to share today as part of my Father's Day posts. I have already shown my Tag Box and Mini Magnets in a Tin using the Kaisercraft Hunt and Gather Collection and here are a couple more easy ideas.


I am re-using another old tobacco/cigarette tin (seen above) and this time it makes the perfect home for this little square album.


This album is made from a single sheet of 12 inch cardstock paper and makes a great keepsake. I used the Hunt and Gather "Watch" paper which has a wonderfully neutral background, perfect for showcasing some small black and white pictures of the kids.


I love this little print from the paper pad which I have added to with a couple of stamps. The mini chipboard dragonfly is from Dusty Attic.


I love using black and white photos for mini albums as I feel the photos have a lovely simple feel to them - especially when you are printing them this small and they are mounted on quite a neutral background.

 
I have a few more handmade journals and albums to show using this range - but I wanted to focus on this little book which started out as a 79c notebook from the grocery store.

I covered it in the "Fossick" patterned paper and used the sticker sheet, elements from the paper pad and rubons to decorate.


I stamped each page with a little My Minds Eye stamp I found in the discount section of The Warehouse (it took less than 2 minutes to do all the pages with Stayzon which dried pretty much instantly) which is all that is needed to turn this little 79c book into a fun little gift!

Please post a comment with any questions.

Lowri :-)

Sunday, August 28, 2011

Sunday Scrapping - Lowri's "Hunt & Gather"

Hi Everyone - Lowri here. What a fantastic week with the new Design Team. We have had fantastic posts from Sandy, Lisa, Christine and Lindsey and today I am showing the first of a few projects I have using the Kaisercraft Hunt and Gather Collection.


We have also added heaps of $1 Reserve Auctions on TradeMe - but sure to check them out here.


Lowri - Hunt and Gather Tag Box

Well, it's Fathers Day here in a couple of weeks and I have been using Kaisercraft's new Hunt and Gather Collection to make some gifts.  This collection incorporates heaps of outdoorsy themes such as hunting, fishing, camping but also has a good collection of general nature related prints too.
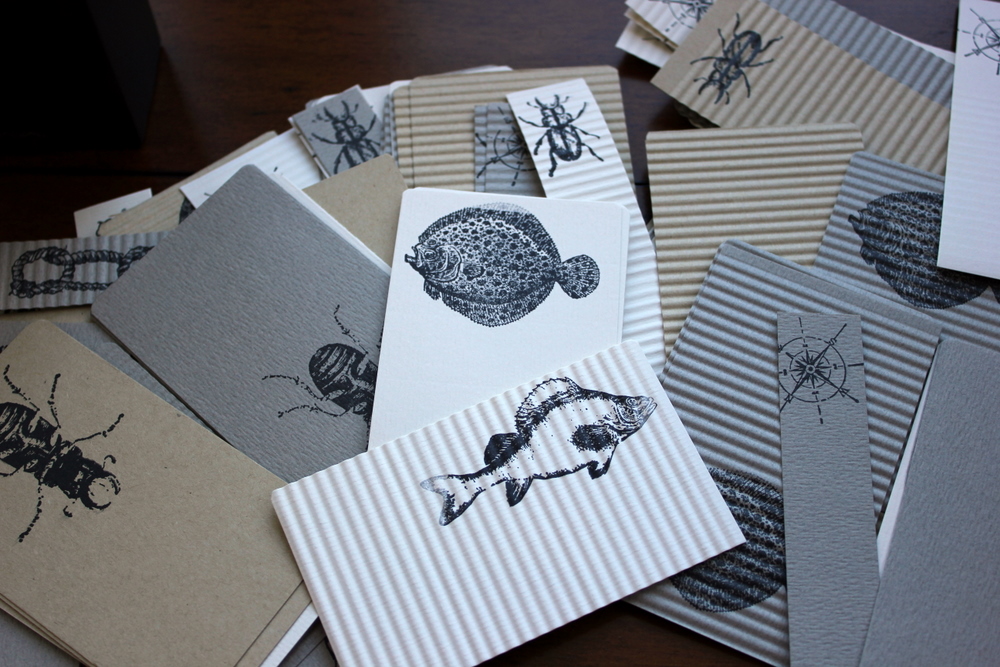
I will be showing all the projects on this shelf (including the shelf itself!) in the upcoming couple of weeks. There are a couple of mini-albums, magnets and several types of journal and all the journals and tins have little surprises in them too .

My Dad has many hobbies and is an avid collector of all kinds of fishing and insect related books and memorabilia. He is also a dedicated list-maker so I decided to decorate this box and fill it with a variety of blank notes he could use as filing slips, bookmarks etc.


The index tabs I made using plain chipboard, ATC cards and the sticker sheet are blank for him to complete (I will include a set of small letter stickers when I give it to him) and hopefully it will be both a decorative and useful item.


For the pages I have simply cut cardstock from dollar store pads to size and stamped on them with images from the Hunt and Gather stamp set. I rolled some through a paper crimper to give a bit of added texture.


I also used the beetle stamp to decorate the front of the box. I used Stayzon ink to ensure it dried fast on top of the mod-podge.


In case you are wondering how the box started out - it was a Kaisercraft Beyond the Project. They are made from MDF and come flat packed. You just decorate and glue together.


I painted the box with two coats of dark brown paint and then attempted a crackle finish which failed miserably! I then just dry brushed over the failed cream finish with a bit more brown and some black acrylic paint before individually sealing each piece with glossy mod-podge. Normally I wouldn't do this but I wanted a shiny finish to make it look like old oak.


Lowri - Hunt and Gather Magnets

Isn't this tin gorgeous?


My Dad loves old bits and pieces and these tobacco tins are cheap and readily available pretty much wherever you are. I love the idea of re-using them and they really are beautiful not to mention a fabulously "green" way to present a little gift.


I made these little magnets to go inside using scraps of paper from the Kaisercraft Hunt and Gather Collection.


There are some gorgeous images in this collection - they look like old watercolour drawings and to create the compass magnet - I just used one of the stamps on a scrap piece of paper.


This little beetle is my favourite image. You can see my tutorial on how to create the magnets below. 

  1. Cut or punch circles of paper slightly smaller than the flat side of the glass dome
  2. Apply Mod Podge to the surface of the paper you want visible through the magnet and glue onto flat side of magnet
  3. When dry, apply a layer of Mod Podge to the other side o the paper (outside)
  4. Using a strong craft glue, stick a magnet to the underside and leave to dry

If you want to see how you can upcycle cheap magnets to get the glass domes - take a look at my post here - but the glass domes should be readily available from craft stores.

Please post a comment with any questions - and keep a look out for my next post to see what is in this tin!

 
There are heaps of blog posts to come this week as well as the winners of this months Challenge.

Lowri :-)

Sunday, July 31, 2011

Lowri - Magnets with Tutorial

Hi Everyone - Lowri here.

We will be announcing the winners of this months Challenge in the next couple of days - so I thought I would share a tutorial that has been a few months in the making! It's also a perfect way to use up scraps of paper and make some unique gifts too.

Couple of disclaimers before I start! This would be fun to do with your kids but step one (cleaning the glass beads) is definitely an adults only activity. You can buy glass domes - but I don't know where - so if you find some let me know. At the end of the post is a cheap and easy way to make lots of magnets without all the fuss!!

I have used the Cosmo Cricket "Upcyle" Collection which is perfect with it's bright colors and fun themes. I also decided I needed somewhere to put the magnets - so I made this fun board too!
These magnets are so much fun to make and you really only need a few basic supplies.
Now - I know you can probably buy these glass domes but I couldn't find anywhere here in New Zealand to get them, so I have "upcycled" these ones from The Warehouse.

Preparing the Glass Domes
  1. Buy some cheap magnets
  2. Carefully remove backing (definitely adults only)
  3. Scrape away most of the glue with a sharp craft knife
  4. Use a pot scourer to remove remaining glue

Making the Magnets
  1. Cut or punch circles of paper slightly smaller than the flat side of the glass dome
  2. Apply Mod Podge to the surface of the paper you want visible through the magnet and glue onto flat side of magnet
  3. When dry, apply a layer of Mod Podge to the other side o the paper (outside)
  4. Using a strong craft glue, stick a magnet to the underside and leave to dry
Here are some close-ups of the magnets. I made three different sizes here - for the largest I used a 1" circle punch.


The magnet board started life as a really ugly magnetic calendar thingy - so I sprayed the outside edges with some tile paint, glued on some paper and when the glue was dry - I Mod Podged over the top to add some shine and protection.

The wonderful papers from Cosmo Cricket really do all the work - they co-ordinate perfectly and the prints are fun and fresh.


These are the magnets I made last year during our Christmas countdown.


OK - if you want to make lot of these very cheaply - buy yourself a jar of decorative glass pebbles such as these (from The Warehouse again - about $4)

Follow the "Making the Magnets" steps as shown above and you can make a lot of these very quickly. Be warned though the quality of the glass is such that the paper will not be as clear through them - but for $4 why not give it a go and see! I made a few to try- you can see these below.

Post a comment with any questions :-)

Lowri :-)